Backyard Restoration After Storm Damage: A Complete Step-by-Step Guide
Reading time: 14 minutes
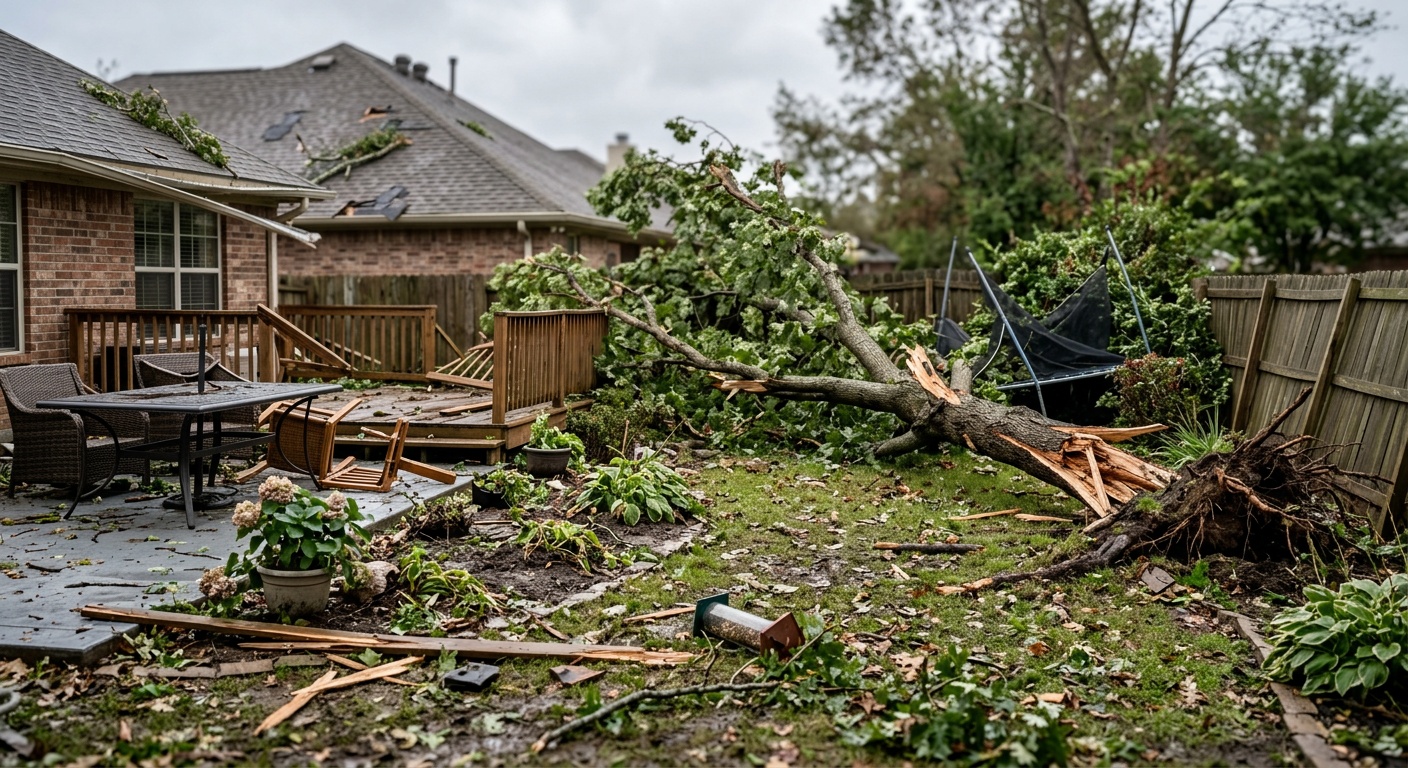
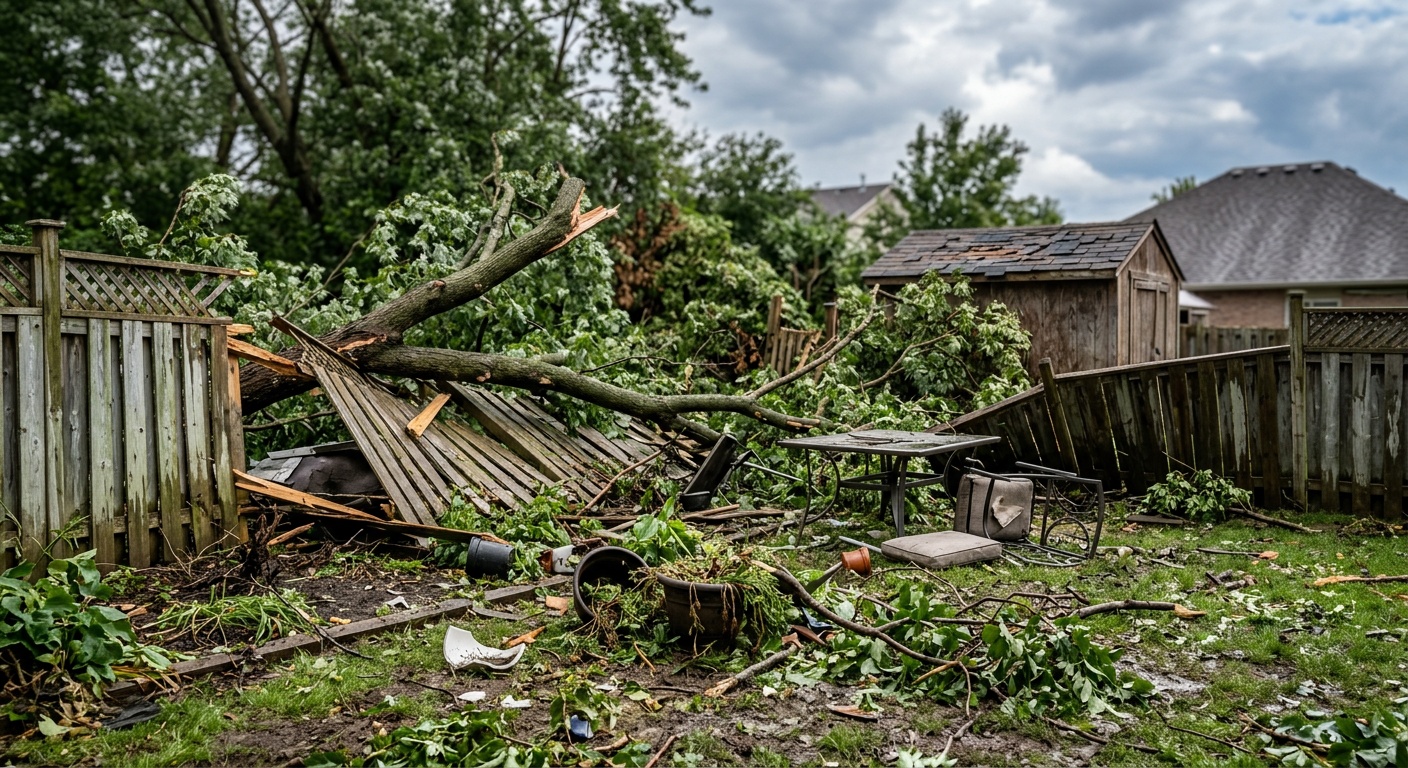
A severe storm rolled through overnight. You wake up, step outside with your morning coffee, and your stomach drops. The fence is leaning at a 45-degree angle, three mature trees have lost major limbs, your garden beds look like they’ve been through a blender, and the patio furniture is scattered across three different neighbors’ yards. Sound familiar?
If you experienced storm damage in 2025 or you’re currently dealing with the aftermath of early 2026’s increasingly volatile weather patterns, you’re far from alone. According to NOAA’s 2025 Annual Climate Report, the United States experienced 28 separate billion-dollar weather and climate disasters last year — a record-breaking figure that left millions of homeowners scrambling to restore their outdoor spaces. The good news? With the right approach, your backyard can not only recover — it can come back stronger and more resilient than before.
This guide is your practical roadmap through the entire restoration process: from the critical first 24 hours after a storm to the long-term resilience upgrades that will protect you for seasons to come.
Table of Contents
- Step 1 — Initial Damage Assessment
- Step 2 — Safety First: Immediate Hazard Removal
- Step 3 — Documenting Damage for Insurance
- Step 4 — Tree and Plant Triage
- Step 5 — Repairing Structures and Hardscaping
- Step 6 — Soil and Lawn Recovery
- Step 7 — Replanting and Restoration
- Step 8 — Building Future Storm Resilience
- Frequently Asked Questions
- Your Backyard’s Second Act: Next Steps
Step 1 — Initial Damage Assessment: Know What You’re Dealing With
Before you pick up a single branch or grab a shovel, you need a clear picture of the full scope of damage. Rushing into cleanup without assessment is one of the most common — and costly — mistakes homeowners make after a storm.
Walk the entire perimeter of your property with a notepad or your smartphone. You’re looking for damage across four key categories:
- Structural damage: Fences, pergolas, sheds, retaining walls, decks, and patio covers
- Vegetation damage: Broken tree limbs, uprooted trees, flattened garden beds, damaged shrubs
- Utility hazards: Downed power lines near the yard, exposed gas lines, damaged irrigation systems
- Drainage issues: Erosion, flooded areas, damaged drainage channels
Pro Tip: Use a free app like iScape or Yard Book to log photos with GPS timestamps. This creates an automatic audit trail that’s useful for insurance claims and contractor quotes — and it only takes about 20 minutes to do thoroughly.
Prioritizing the Damage Tiers
Not all damage is equal in urgency. Think of it in three tiers:
- Tier 1 — Immediate (within 24 hours): Downed power lines, gas leaks, structurally compromised trees leaning over the house, broken glass
- Tier 2 — Urgent (within 3–7 days): Damaged trees with hanging limbs, erosion exposing foundations, flooded areas near the house
- Tier 3 — Important (within 30 days): Fence repairs, garden bed restoration, lawn recovery, structural cosmetic repairs
This triage approach keeps you focused and prevents decision fatigue — which is very real when you’re staring at a backyard that looks like a war zone.
Step 2 — Safety First: Immediate Hazard Removal
Let’s be blunt: the backyard can wait. Your safety cannot. In 2025, the U.S. Consumer Product Safety Commission reported over 36,000 emergency room visits related to post-storm cleanup injuries — most from chainsaw accidents, falls, and electrocution near downed lines.
The Non-Negotiable Safety Rules
Never approach a downed power line. Even lines that appear dead may still carry lethal voltage. Call your utility company and keep everyone — including pets — at least 30 feet away. In 2026, most major utility providers now offer real-time outage and hazard reporting through their apps, so use them.
For tree hazards specifically, the “widow-maker” problem is very real. These are hanging broken limbs caught in the canopy above — they look stable but can fall without warning. If you see limbs lodged overhead, do not walk under those trees until a certified arborist has cleared them.
Essential safety gear for Phase 1 cleanup:
- Steel-toed boots (non-negotiable)
- Heavy leather work gloves
- Safety glasses or a full face shield
- Hard hat when working near trees
- High-visibility vest if working near roads
- A charged phone with your local utility company number saved
Step 3 — Documenting Damage for Insurance Claims
Here’s where many homeowners leave serious money on the table. Thorough documentation is the difference between a claim that covers your restoration fully and one that barely scratches the surface.
A 2025 Insurance Information Institute study found that homeowners who documented damage with both photos and written inventories received settlements averaging 34% higher than those who submitted photo-only claims. That’s a significant gap for something that takes an extra hour of your time.
Your documentation checklist:
- Photograph every damaged item from multiple angles (wide shot, medium, close-up)
- Video-walk the entire yard in one continuous recording with narration describing what you see
- Write a written inventory including estimated ages and values of damaged items
- Note the date and time of the storm and check local weather records to confirm the event
- Get 2–3 contractor quotes in writing before making major repairs
- Keep all receipts for emergency cleanup expenses — most policies reimburse reasonable emergency measures
Case Study: Real Lesson from 2025 — After Hurricane Heloise struck coastal Georgia in September 2025, homeowner Patricia Simmons documented her backyard damage methodically using her phone, including a written list of her mature fig tree (estimated value: $2,400 by a certified arborist) and her custom cedar pergola ($4,800 replacement cost). Her insurer initially offered $3,100. With her documentation, she negotiated a final settlement of $6,700. The extra 90 minutes of documentation work netted her an additional $3,600.
Step 4 — Tree and Plant Triage: What to Save vs. Remove
Trees are the heart of most backyards, and they’re also the most emotionally charged part of storm damage recovery. Before you make any decisions about removal, get a professional assessment. The International Society of Arboriculture (ISA) recommends consulting a certified arborist for any tree with a trunk diameter over 4 inches or any damage that involves more than 50% of the canopy.
The Tree Survival Assessment Framework
Ask these questions about each damaged tree:
- Is the leader (main trunk) intact? If the main trunk is split or severely damaged, removal is likely necessary.
- What percentage of the crown is lost? Trees losing less than 30% of their canopy typically recover well. Between 30–50% requires arborist evaluation. Over 50% canopy loss usually warrants removal.
- Are the major structural branches intact? These are the large branches forming the main scaffold of the tree. If 3 or more are broken, recovery is difficult.
- Is the root system compromised? Partially uprooted trees or those with soil heaving around the base are structurally unstable and dangerous.
- What is the tree’s overall health prior to the storm? A healthy young oak can recover from significant damage. A stressed 80-year-old elm may not.
For smaller plants and shrubs: Most herbaceous perennials can be cut back hard and will regenerate from their root systems. Don’t write them off too quickly. Even plants that look completely destroyed at the surface often have healthy roots ready to resprout when given a few weeks of stabilized conditions.
A helpful rule of thumb: if the roots are intact and undamaged, give the plant 4–6 weeks before declaring it dead. Many gardeners prematurely remove plants that would have recovered fully.
Step 5 — Repairing Structures and Hardscaping
Fences, decks, retaining walls, patios, and garden structures each have their own repair considerations. Here’s how to approach the most common structural repairs efficiently.
Fence Repair: DIY vs. Professional Threshold
Fence repair is one of the more DIY-friendly post-storm tasks, but know your limits. The average cost of professional fence repair in 2026 ranges from $380 to $1,200 depending on material and extent of damage, according to HomeAdvisor’s 2026 Cost Guide. For straightforward panel replacements or post resets, many homeowners can handle this independently with some basic tools and a rental post-hole digger ($45–$60/day).
When to DIY your fence repair:
- One to three damaged panels that can be swapped out
- A leaning post that hasn’t cracked at the base
- Gate hardware replacement
When to call a pro:
- More than 20 linear feet of damage
- Retaining walls — these are structural and require proper engineering
- Damage near underground utilities
- Foundation-level concrete post bases that have cracked
For decks and pergolas, always assess the ledger board connection (where the deck attaches to the house) and all post bases for water infiltration damage that a storm may have worsened. This is the area most likely to have hidden structural compromise.
Step 6 — Soil and Lawn Recovery
Storms don’t just damage what’s above ground — they wreak havoc below the surface too. Heavy rain causes soil compaction, erosion strips away topsoil, flooding depletes oxygen in the root zone, and debris introduces contaminants. A thoughtful soil recovery strategy is what separates a lawn that bounces back in one season from one that struggles for years.
Testing before treating: Before you add anything to your soil, invest $20–$35 in a basic soil test kit from your local garden center or through your county’s cooperative extension service. Flooding and storm water runoff can dramatically alter soil pH and nutrient levels. Amending without knowing your baseline is like medicating without a diagnosis.
The four-step soil recovery protocol:
- Aerate: Core aeration (using a core aerator, not a spike aerator) is critical after heavy compaction from storm rain. Rent a core aerator for $75–$100/day or hire a lawn service for $120–$200. This step alone can dramatically accelerate recovery.
- Top-dress with compost: Apply a ¼ to ½ inch layer of high-quality finished compost across affected areas. This replenishes microbial life, improves drainage, and reintroduces organic matter stripped by erosion.
- Overseed bare patches: For cool-season grasses, early fall is ideal. For warm-season grasses, late spring through early summer. Use regionally appropriate seed blends — your local cooperative extension office publishes free regional guides.
- Mulch erosion-prone areas: Apply 2–3 inches of shredded hardwood mulch to sloped areas and garden beds to prevent further erosion during subsequent rain events while plants are re-establishing.
Quick Scenario: Imagine your backyard slope lost about 3 inches of topsoil to runoff during a 4-inch rainfall event. Without intervention, the next rain continues eroding the exposed subsoil, making recovery progressively harder. But with emergency mulching applied within 48 hours, you stop the erosion cycle immediately and give the soil time to stabilize before replanting.
Step 7 — Replanting and Restoration
Now comes the part that most homeowners are eager to get to — the rebuilding. But replanting too quickly is a mistake that wastes money and labor. The ground needs to be stabilized, drainage corrected, and soil amended before new plants go in.
Target the 3-to-6-week mark post-storm as your replanting window, assuming the structural and soil work is complete. Here’s what to prioritize:
Strategic Replanting for Resilience
Use the restoration as an opportunity to redesign with storm resilience in mind. The American Horticultural Society’s 2026 climate-adaptive planting guidelines recommend shifting toward:
- Native species: Plants native to your region are adapted to local weather extremes. They have deeper root systems, require less supplemental watering, and recover faster from storm damage.
- Layered plantings: Mixing ground covers, shrubs, and trees creates a windbreak effect and reduces the impact of heavy rain on bare soil.
- Deep-rooted grasses: For lawn areas, varieties like tall fescue (cool season) or zoysiagrass (warm season) develop root systems 6–12 inches deep, dramatically improving drought and storm resilience compared to shallow-rooted Kentucky bluegrass.
Case Study: Transforming Devastation into Design — After a microburst storm in suburban Columbus, Ohio in June 2025, homeowner Derek Mulligan lost four ornamental pear trees and had significant lawn erosion on a sloped rear yard. Rather than simply replacing the pears (notorious for weak branch structure and storm vulnerability), he worked with a landscape designer to install a native rain garden in the low-lying area and replaced the pears with a mix of native serviceberries and redbud trees. Eighteen months later, his yard not only handles storm water better but has become a certified wildlife habitat through the National Wildlife Federation’s program. His story was featured in a 2026 issue of Fine Gardening magazine as an example of storm restoration done right.
Step 8 — Building Future Storm Resilience
The final step isn’t just about recovery — it’s about never having to start from zero again. In 2026, with climate scientists projecting continued increases in storm frequency and intensity across most of North America, resilience planning has moved from “nice to have” to essential for any serious homeowner.
Here’s your resilience upgrade priority list:
| Upgrade | Difficulty | Cost Range (2026) | Storm Impact Reduction | Priority |
|---|---|---|---|---|
| Rain Garden Installation | Moderate | $800–$3,000 | High — reduces runoff by 30–40% | ⭐⭐⭐⭐⭐ |
| Wind-Resistant Fencing | Moderate | $25–$60/linear ft | High — open-design reduces wind load | ⭐⭐⭐⭐⭐ |
| Permeable Paving | Professional | $10–$30/sq ft | Moderate — reduces surface flooding | ⭐⭐⭐⭐ |
| Native Tree Planting | Easy–Moderate | $150–$600/tree | High — stronger structure, better rooting | ⭐⭐⭐⭐⭐ |
| French Drain System | Professional | $1,500–$5,000 | Very High — eliminates waterlogging | ⭐⭐⭐⭐⭐ |
Design Philosophy Shift: The most resilient backyards of 2026 are designed around the concept of “working with water rather than against it.” Instead of directing all storm water off the property as quickly as possible (the old approach), progressive landscape design slows water down, spreads it out, and sinks it into the soil. This reduces downstream flooding, recharges groundwater, and dramatically reduces erosion.
Frequently Asked Questions
How long does backyard recovery typically take after a major storm?
Recovery timelines vary significantly depending on damage severity and your climate zone. For moderate damage — some broken branches, fence damage, and partial lawn loss — expect 4–8 weeks to complete primary restoration. For severe damage involving major tree removal, significant structural repairs, and extensive replanting, a full calendar year is realistic for the landscape to genuinely stabilize and look established again. Don’t compare your yard to a pre-storm photo at the three-month mark; give yourself and your landscape a full growing season before evaluating the outcome.
Should I wait for my insurance claim to be processed before starting repairs?
No — and this is a crucial distinction. Most homeowner’s policies require you to take “reasonable measures to prevent further damage” after a covered event. This means emergency cleanup, tarping damaged structures, and debris removal should happen immediately, regardless of claim status. Document everything with photos before you begin, keep all receipts, and notify your insurer as soon as possible. However, hold off on major permanent repairs (replacing a fence, replanting large trees) until after your adjuster has visited, as these are the big-ticket items your insurer will want to assess in person.
My trees seem fine after the storm — do I still need an arborist inspection?
Yes, for any tree within striking distance of your home, a car, or power lines. What appears fine visually after a storm can conceal serious structural damage beneath the bark or in the root system. Root damage from soil saturation and movement is completely invisible until a tree fails — sometimes months after the original storm. A 2025 University of Florida study found that 40% of post-storm tree failures occurred more than 60 days after the original weather event, in trees that appeared undamaged. An ISA-certified arborist inspection costs $150–$300 and is one of the highest-value investments you can make in post-storm safety.
Your Backyard’s Second Act: A Restoration Action Plan
Here’s the straight truth: storm damage is genuinely devastating. But it’s also one of the rare moments when you have permission — and often the insurance funding — to rebuild something better than what was there before. The homeowners who come out ahead aren’t the ones who restore fastest. They’re the ones who restore smartest.
Your immediate action roadmap:
- Within 24 hours: Complete your full damage assessment, photograph everything, address all safety hazards, and notify your insurer. Do not begin major repairs.
- Days 2–7: Get professional tree assessments, collect contractor quotes (minimum 3), and complete emergency soil stabilization (mulching, erosion barriers) in vulnerable areas.
- Weeks 2–4: Execute structural repairs (fence, deck, shed) as insurance claim progresses. Begin soil testing and amendment process for lawn and garden beds.
- Weeks 4–8: Replant with a strategic, resilience-focused planting plan. Prioritize native species and layered planting designs.
- Months 3–12: Monitor, adjust, and implement long-term resilience upgrades — rain gardens, drainage improvements, wind-resistant design elements.
As extreme weather events continue to intensify across North America in 2026 and beyond, the gap between a yard that suffers major setbacks every storm cycle and one that weathers events with minimal disruption comes down almost entirely to intentional design choices made during recovery windows exactly like the one you may be standing in right now.
Your yard’s history didn’t end with that storm — it just started a new chapter. What kind of story will you write? Consider reaching out to your local cooperative extension office or a landscape architect for a free or low-cost consultation. Many programs in 2026 offer resilience-focused rebates for rain gardens and native plantings — your recovery could quite literally pay for itself.
Article reviewed by Gary Kowalski, Structural Demolition & Load-Bearing Analysis Expert, on June 8, 2026